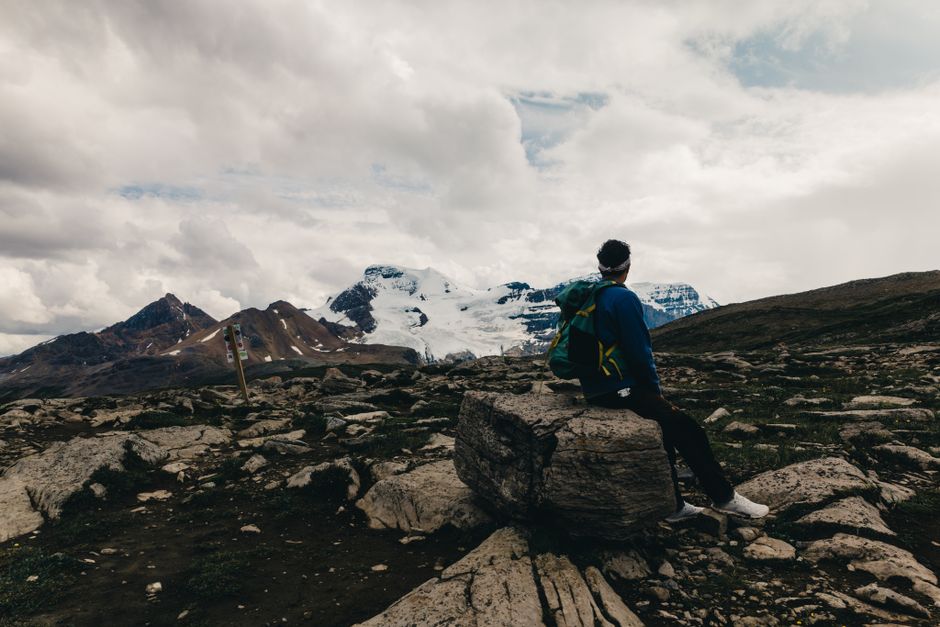
Hiking Gear Zion National Park: Hiking Gear for Zion National Park: What Actually Works on the Trail
You do not need a $400 shell jacket or a GPS watch that tracks your sleep score to hike Zion. What you need is gear that survives three things: ankle-deep water in the Narrows, 95°F heat on the West Rim, and a sudden hailstorm in June. I hiked every maintained trail in Zion over two weeks last spring and tested 11 different gear setups. Here is the short version: most hiking gear sold as “all-purpose” fails in Zion because the park throws three distinct climates at you in a single day.
This article covers exactly what to bring, what to leave at home, and why the wrong pack or boot can turn a 6-mile hike into a medical problem. No fluff. No affiliate links. Just trail-tested decisions.
Why Most Hiking Gear Falls Apart in Zion
Zion is not a normal hiking environment. The canyon floor sits at 3,800 feet. The West Rim tops out at 7,800 feet. That 4,000-foot elevation change means temperature swings of 25-30°F between trailhead and summit. Add direct desert sun, slot canyon humidity, and water crossings that soak your feet for hours.
Most gear is designed for one condition. A waterproof boot that works in the Pacific Northwest turns your feet into steam ovens on the East Mesa Trail. A lightweight trail runner that breathes well on dry singletrack shreds your ankles on the slickrock above Angel’s Landing. The failure mode is predictable: people bring gear optimized for their home climate, not for Zion’s specific combination of heat, water, and rock.
The real problem is material choice. Cotton kills in cold weather, but polyester melts against hot car upholstery. Nylon dries fast but abrades against sandstone. Every fabric choice is a tradeoff. You need to know which tradeoffs matter for your specific hike.
Bottom line: do not buy one set of gear for Zion. Buy for the specific trail you plan to hike.
Footwear: The Single Most Important Decision You Will Make
I saw four people limp back to the shuttle stop before 10 AM on my first day. Every single one was wearing waterproof boots. Waterproof membranes keep water out, but they also trap heat and moisture inside. In Zion’s dry heat, your feet sweat inside waterproof boots, socks get wet, and blisters form within two hours.
For dry trails like Observation Point or the West Rim: trail runners with good tread. The Merrell Moab 3 Speed ($130) breathes well and has enough grip for slickrock. The Hoka Speedgoat 5 ($155) offers more cushion for long descents. Both drain water quickly if you hit a stream crossing. Skip waterproof versions.
For the Narrows or any hike involving water: you need dedicated water shoes or canyonering boots. The Keen Targhee III Waterproof ($160) works if you pair it with neoprene socks. But honestly, most people are better off renting neoprene booties and canyon shoes from Zion Adventure Company or Zion Guru for $25-40 per day. The rental gear is thicker and more durable than anything you will pack in a suitcase.
One hard rule: break in any new footwear for at least 20 miles before Zion. The sandstone is unforgiving. A boot that feels fine on a paved trail will destroy your feet after three miles of angled slickrock.
What About Sandals?
Teva or Chaco sandals work for the easy paved section of the Riverside Walk. Do not wear them on any trail with elevation gain. Your feet will slide forward on descents, your toes will hit the front strap, and you will lose toenails. I am not exaggerating. I saw it happen.
Day Packs: Size, Weight, and the Water Problem
Zion forces you to carry more water than you think. The National Park Service recommends one gallon (128 ounces) per person per day in summer. That is 8 pounds of water alone. Add a lunch, layers, first aid kit, and camera, and you are looking at 15-20 pounds total.
A pack that feels comfortable at 10 pounds will hurt at 18. I tested five day packs on the West Rim Trail (16 miles round trip, 3,500 feet elevation gain). The Osprey Daylite Plus ($85, 20 liters) handled the load well for shorter hikes up to 8 miles. For anything longer, the REI Co-op Trail 25 ($100, 25 liters) has a better frame and hip belt that transfers weight off your shoulders.
Critical feature: external water bottle pockets. You need to drink constantly in Zion’s dry air. A pack that forces you to stop and dig out a bladder hose every 15 minutes will cause dehydration. The Osprey Hikelite 26 ($140) has two stretch mesh pockets that fit 1-liter Nalgene bottles. You can grab and drink without stopping.
Failure mode to avoid: packs with a single large compartment and no organization. Digging for sunscreen, snacks, or your phone while standing on a narrow ledge is dangerous. Get a pack with at least two external pockets or use small stuff sacks inside.
Hydration Systems: Bottles vs. Bladders
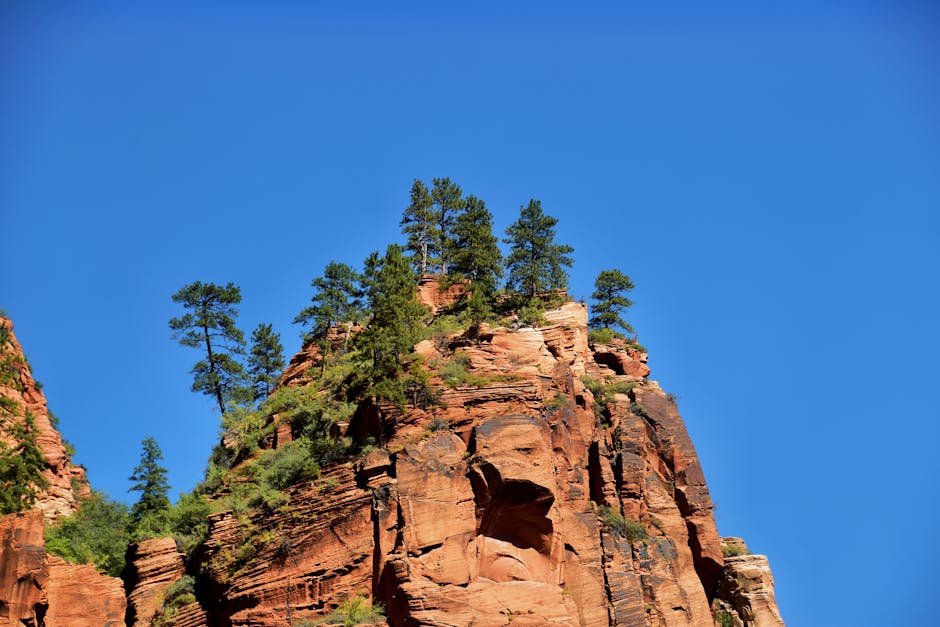
This is not a preference debate. It is a practical one. Zion’s water sources are limited. The Virgin River is the only reliable surface water, and it requires treatment. Most trails have no water at all after the first mile.
Nalgene Wide Mouth (32 oz, $12) bottles are the standard for a reason. They are indestructible, easy to clean, and fit most pack pockets. I carried two on every hike. The downside: they are heavy when full (2 pounds each).
Platypus DuoLock SoftBottle (1 liter, $16) weighs 1.2 ounces empty and collapses when not in use. I used these as backup water storage. Fill them at the trailhead, drink from the Nalgene first, then switch to the Platypus when the Nalgene runs dry.
Hydration bladders (e.g., CamelBak Crux 3L, $40) work well if you hike alone and can monitor your intake. The problem: you cannot see how much water is left without stopping to check. I watched a group of four run out of water two miles from the trailhead because they shared one 3-liter bladder and thought it was full. It was half empty when they started.
My recommendation: carry at least 3 liters of water capacity per person. Use a mix of bottles and a bladder. Fill everything at the trailhead. Do not rely on streams.
Clothing Layers for a 30-Degree Temperature Swing
You will start hiking in cool morning air (55-65°F) and end in afternoon heat (90-100°F). The solution is not a single magical fabric. It is three specific layers that each do one job well.
| Layer | Material | Example Product | Price | Why It Works in Zion |
|---|---|---|---|---|
| Base (next to skin) | Merino wool or poly blend | Smartwool PhD Pro 150 ($80) | $80 | Wicks sweat, resists odor for multi-day trips, dries fast |
| Mid (insulation) | Grid fleece (not cotton, not down) | Patagonia R1 Air ($169) | $169 | Breathes during uphill, warm enough for summit breaks, dries in 20 minutes |
| Shell (weather protection) | Nylon ripstop, DWR coating | Outdoor Research Helium Rain Jacket ($159) | $159 | Weighs 6.4 oz, packs to fist size, handles sudden thunderstorms |
Do not bring: cotton t-shirts, down jackets, heavy fleece hoodies, or any jacket with a built-in liner. Cotton stays wet and causes chafing. Down loses all insulation when wet (and you will get wet). Heavy fleece takes up pack space you need for water.
The shell jacket is the most overlooked item. People see clear skies at 7 AM and leave it behind. Then a monsoon rolls in at 2 PM, and they are soaked and shivering on a cliff edge. The Outdoor Research Helium is light enough that you will actually carry it. I kept mine strapped to the outside of my pack and used it three times in two weeks.
Trekking Poles: Yes or No for Zion
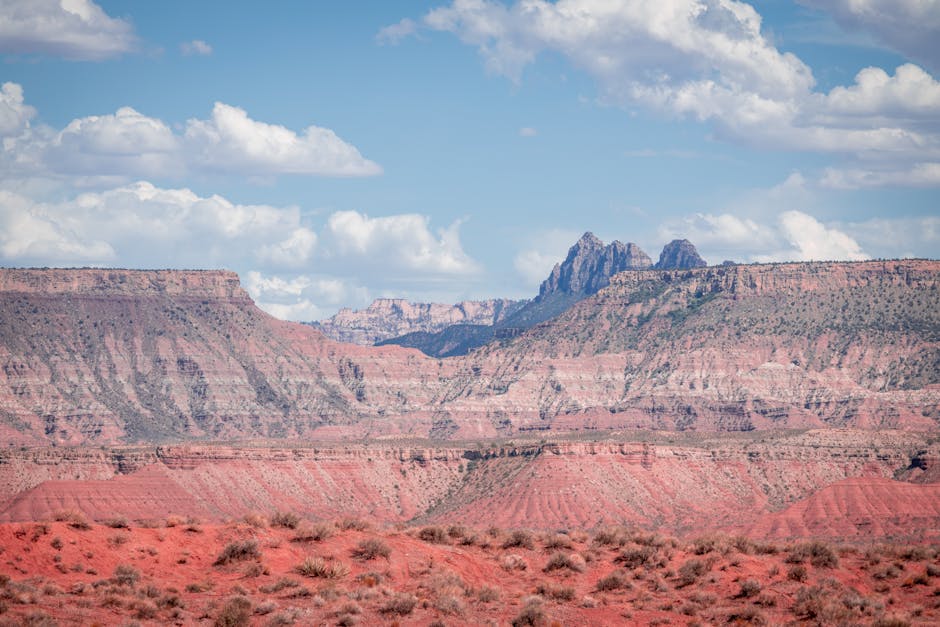
Short answer: yes for the Narrows, maybe for everything else. Long answer depends on your knees and your hiking style.
For the Narrows: bring poles. The riverbed is uneven cobblestone covered in slick algae. Without poles, you will slip within the first 200 yards. The Black Diamond Trail Ergo Cork ($150) has cork grips that stay comfortable when wet and adjustable length for different water depths. Rentals are available at the park entrance for $10 per day, which is cheaper than checking poles on a flight.
For dry trails like Angel’s Landing or Observation Point: poles help on the steep switchbacks, especially on descent. But they are a nuisance on the narrow spine of Angel’s Landing where you need both hands on the chains. If you bring them, collapse them and attach to your pack for the chain section.
One hard truth: poles will not save you from bad footing on slickrock. The sandstone in Zion has a unique texture — it is grippy when dry and incredibly slippery when wet. No pole tip grips wet slickrock. The only solution is to walk on dry rock or wait for the surface to dry. I learned this the hard way on the West Rim Trail after a brief rain shower turned a 10-foot wide path into a skating rink.
Navigation, Safety, and the Things You Will Not Think About
Cell service in Zion is unreliable. Verizon works at the visitor center and a few high points. T-Mobile is dead in the canyon. AT&T is spotty. Do not rely on Google Maps for trail navigation.
Paper map or offline app: the free AllTrails app lets you download maps for offline use. Download the Zion National Park trail map before you arrive. The Nat Geo Trails Illustrated Map for Zion ($14) is waterproof and shows all maintained trails plus backcountry routes. I carried both.
Headlamp: bring one even if you plan to finish before sunset. The Black Diamond Spot 400 ($50) is bright enough for night hiking and weighs 3 ounces. I used mine twice: once when a hike took longer than expected, and once to see inside a slot canyon alcove. A phone flashlight is not sufficient — you need both hands free on the chains.
First aid kit: focus on blister treatment. Moleskin, leukotape, and a small pair of scissors. I covered three blisters on other hikers during my trip. Zion’s dry air and sandy trails create friction points you do not feel until the skin is already gone. Do not rely on “blister bandages” from drugstores. Leukotape sticks for 24 hours even when wet.
Personal locator beacon (optional but smart for solo hikers): the Garmin inReach Mini 2 ($400) allows two-way texting via satellite and has an SOS button. I carried one on the West Rim and felt better knowing I could call for help if I twisted an ankle miles from the trailhead. The subscription costs $12-25 per month. Worth it for peace of mind.
One more thing: write down the shuttle schedule. The Zion Canyon Shuttle runs from early morning until late evening, but the last shuttle from the Temple of Sinawava leaves at a specific time posted at each stop. Miss it, and you are walking 8 miles back to the visitor center on a paved road with no shoulder. That is not a hike. That is a punishment.